
Waxing Fundamentals
Ski waxing is a critical maintenance step for any skier, offering a multitude of benefits that directly impact performance and equipment longevity. Properly waxed skis glide more smoothly and efficiently over snow, reducing friction and allowing for greater speed and less effort. This improved glide is particularly noticeable in varying snow conditions, from icy hardpack to soft powder.
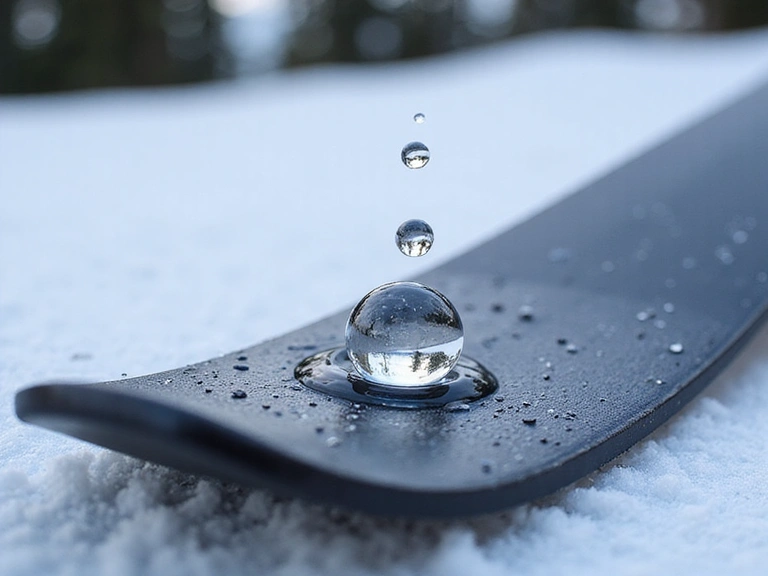
Beyond performance, waxing also protects the ski bases. The wax acts as a barrier, preventing the base material from drying out and oxidizing, which can lead to a slower, less responsive ski. A well-maintained base is more durable and less prone to damage, extending the life of your expensive equipment. Moreover, regular waxing enhances the hydrophobic properties of the ski base, meaning water beads up and sheds off more effectively, further reducing drag and improving glide.
Types of Ski Wax
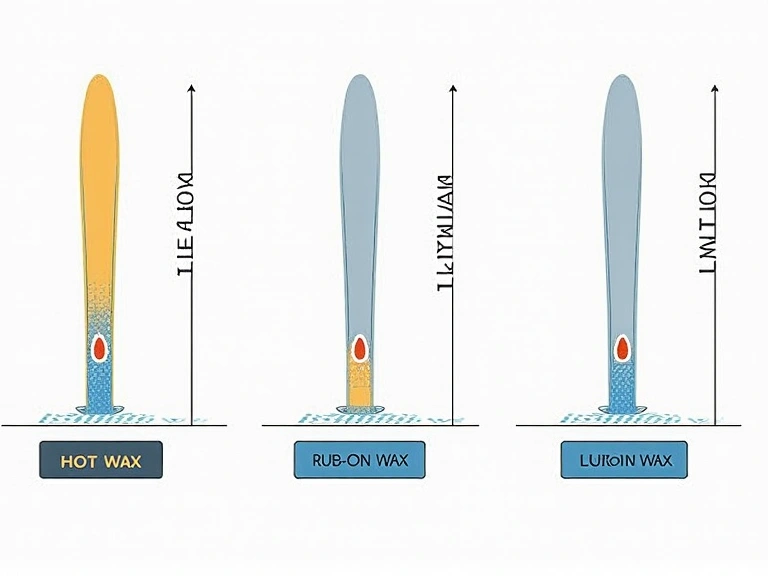
- Hot Wax: Applied with a waxing iron, hot wax penetrates deep into the pores of the ski base, offering the most durable and performance-oriented application. It's ideal for optimal glide and base protection.
- Rub-On Wax: A quick and convenient option, rub-on wax is applied directly to the base and then corked in. While easy to use, it offers less durability and performance compared to hot wax, best suited for short tours or quick touch-ups.
- Liquid Wax: Often available in spray or sponge-applicator bottles, liquid wax is fast to apply and good for a temporary boost in glide. Like rub-on wax, its performance and longevity are generally less than hot wax.
Hydrophobic Properties and Friction Reduction
The science behind ski waxing lies in its ability to create a hydrophobic surface and reduce friction. Snow consists of ice crystals, but a thin layer of water forms between the ski base and the snow due to pressure and friction. This water layer is crucial for glide. A hydrophobic wax repels water, minimizing the suction effect that can slow skis down. Instead of clinging to the base, water beads up and helps the ski glide smoothly over the snow.
Friction reduction is a twofold process. Firstly, the wax fills microscopic imperfections in the ski base, creating a smoother surface. Secondly, the wax itself has a lower coefficient of friction than raw polyethylene ski bases, especially at varying temperatures. By choosing the correct wax for the snow temperature, you ensure optimal glide by matching the wax's hardness and additives to the specific conditions, allowing the ski to efficiently shed water and reduce drag.
Choosing the Right Wax
Selecting the appropriate ski wax is paramount for optimal performance and an enjoyable skiing experience. The right wax depends heavily on environmental factors such as snow temperature, humidity, and the type of snow you'll be skiing on. Using the wrong wax can lead to slow, sticky skis, or even damage to your bases.
Factors Influencing Wax Choice
Snow Temperature
This is the most critical factor. Waxes are specifically formulated for different temperature ranges. Colder snow requires harder waxes to prevent friction and abrasion, while warmer, wetter snow needs softer waxes with higher fluorine content to repel water and reduce suction.
Humidity
High humidity often means higher water content in the snow, even at colder temperatures. In these conditions, waxes with fluorine additives become essential as they enhance hydrophobicity, allowing skis to glide more freely without sticking.
Snow Type
New snow is typically sharp and abrasive, requiring a harder wax. Old, transformed snow is more rounded and slower, often benefiting from softer waxes. Artificial snow is very abrasive and can quickly strip wax, necessitating durable, hard waxes.
Wax Recommendation Chart
| Snow Temperature (°C) | Snow Temperature (°F) | Recommended Wax Type | Typical Wax Color | Snow Conditions |
|---|---|---|---|---|
| -12°C to -25°C | 10°F to -13°F | Cold Hard Wax (e.g., CH4/LF4) | Green | Extremely cold, dry, abrasive new or artificial snow. |
| -8°C to -12°C | 18°F to 10°F | Cold Wax (e.g., CH6/LF6) | Blue | Cold, dry snow. Often used for general cold conditions. |
| -4°C to -8°C | 25°F to 18°F | Medium Cold Wax (e.g., CH7/LF7) | Violet | Typical winter conditions, slightly colder. |
| -2°C to -4°C | 28°F to 25°F | Universal Wax (e.g., CH8/LF8) | Red | Around freezing, common for general skiing. |
| 0°C to -2°C | 32°F to 28°F | Warm Wax (e.g., CH10/LF10) | Yellow | Wet, slushy conditions or spring skiing. High humidity. |
| >0°C | >32°F | Extremely Warm Wax (e.g., CH12/LF12) | Orange/White | Very wet, slushy, dirty snow. Often contains anti-static additives. |
Waxing Instructions
Achieving optimal ski performance requires proper waxing techniques. Here, we provide step-by-step guides for the most common waxing methods: hot waxing for durability and performance, rub-on waxing for quick convenience, and liquid waxing for fast application.
Hot Waxing Guide
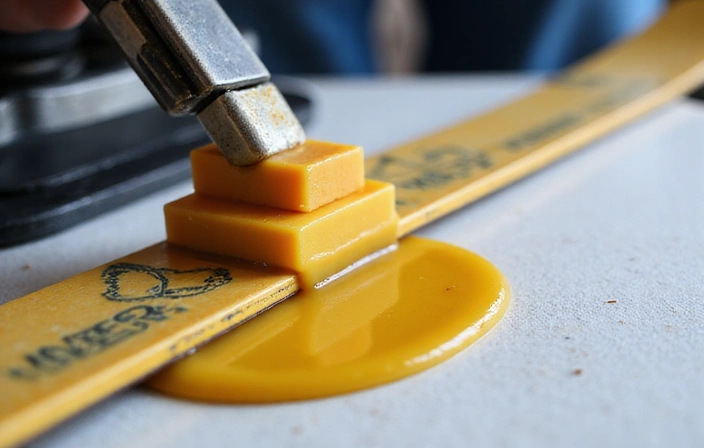
Hot waxing provides the best durability and glide. It involves melting wax onto the ski base, allowing it to penetrate deeply, and then scraping and brushing it off for a smooth finish. This method is highly recommended for regular maintenance and before significant ski trips.
Tools Required:
- Ski waxing iron
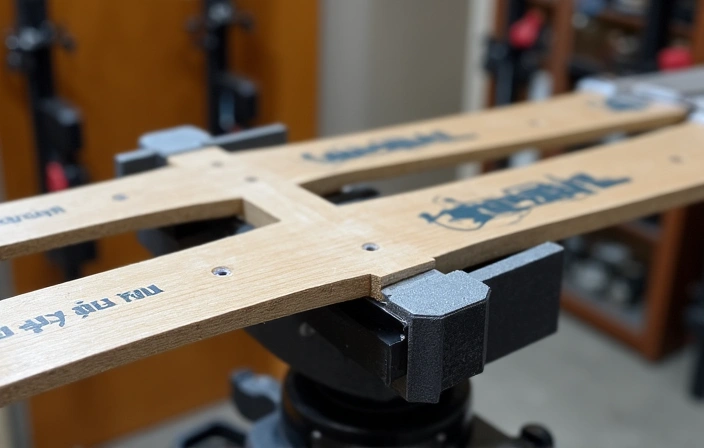
- Ski vice or stable workbench
- Wax of choice (temperature-specific)
- Plastic scraper
- Nylon brush
- Horsehair or fine brass brush (optional, for finishing)
- Base cleaner (optional)
- Clean rags
-
Prepare Your Skis: Secure your skis in a vice, base up. Clean the bases thoroughly with a base cleaner if they are dirty or have old wax residue. Let them dry completely.
-
Melt and Drip Wax: Set your waxing iron to the recommended temperature for your wax. Hold the wax against the hot iron and allow it to drip continuously onto the ski base, covering the entire surface from tip to tail.
-
Iron the Wax: Gently pass the iron over the wax, spreading it evenly across the entire base. Move the iron slowly and continuously to avoid overheating any single spot. Ensure the wax melts into the base, creating a thin, even layer. Make sure the wax cools completely (at least 30 minutes, preferably longer).

-
Scrape Excess Wax: Once the wax has cooled and hardened, use a plastic scraper to remove all excess wax from the base. Start from the tip and scrape towards the tail, applying firm, even pressure. Continue until no more wax comes off.
-
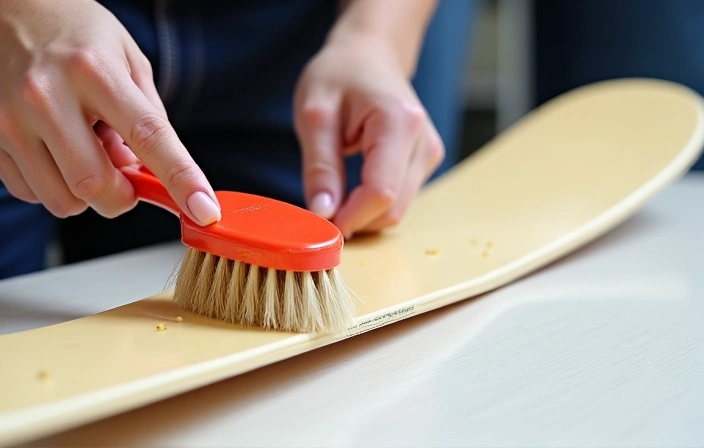
Brush the Base: Use a nylon brush to thoroughly brush the ski base from tip to tail. This opens up the base structure and removes any microscopic wax particles, enhancing glide. For an even finer finish, follow with a horsehair or fine brass brush.
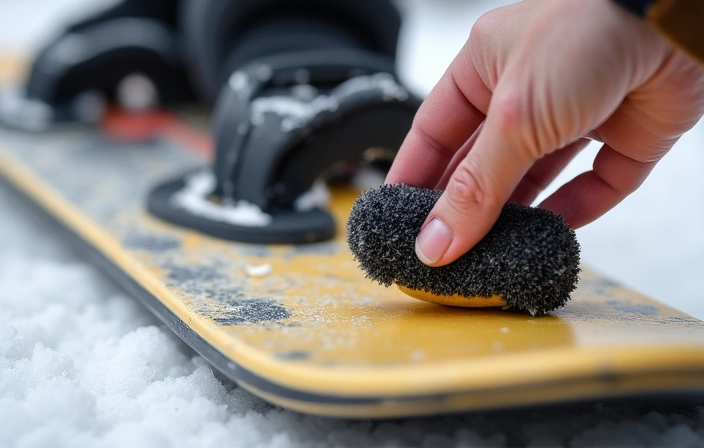
Rub-On Waxing Guide
Rub-on waxes are excellent for quick applications, touch-ups on the slopes, or when you don't have access to a waxing iron. While not as durable as hot wax, they provide a noticeable improvement in glide.
Tools Required:
- Rub-on wax block or stick
- Cork (natural or synthetic, often integrated into wax packaging)
- Nylon brush (optional, for finishing)
-
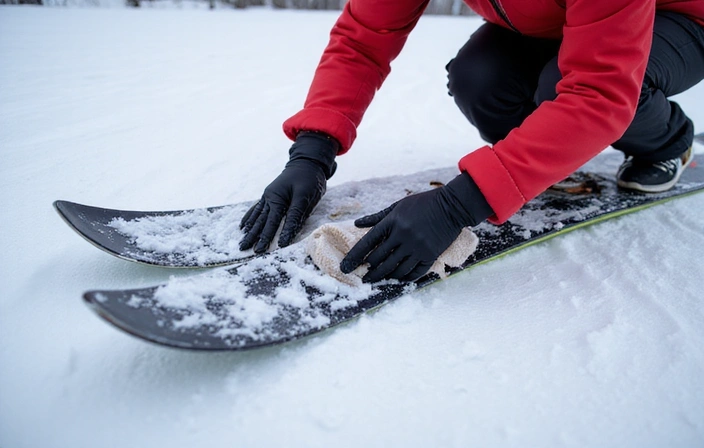
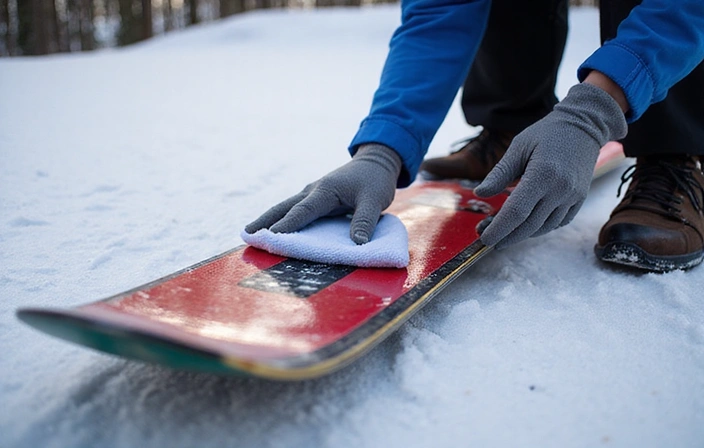
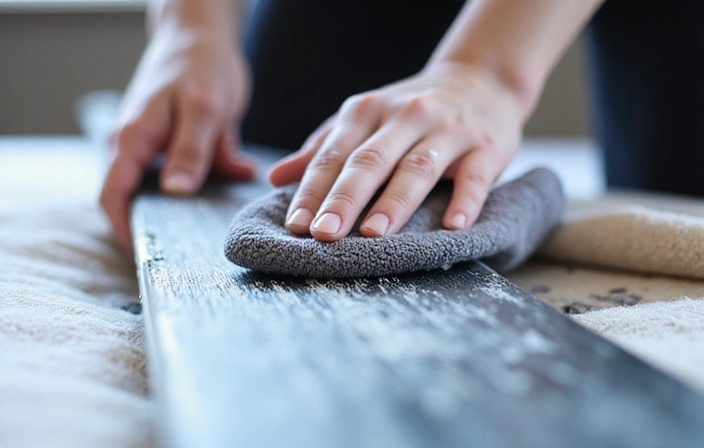
Clean the Base: Ensure your ski bases are clean and dry. Wipe off any dirt or old wax.
-
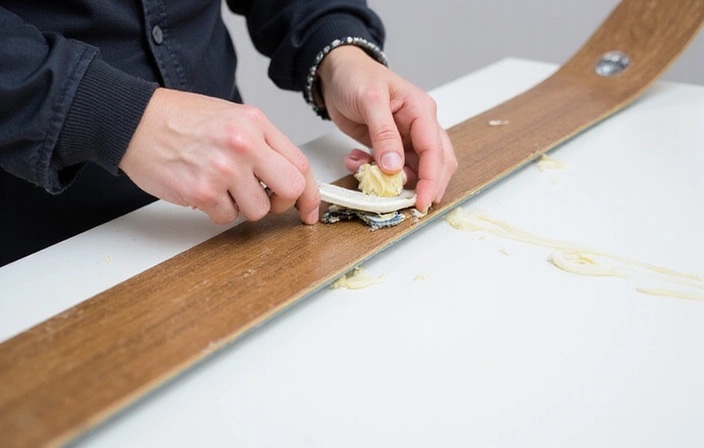
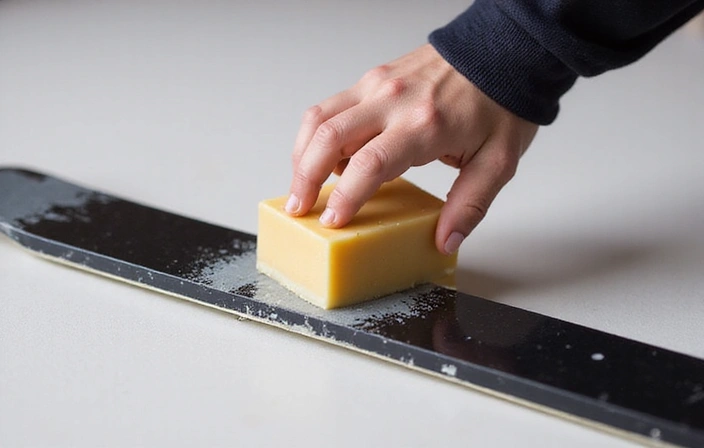
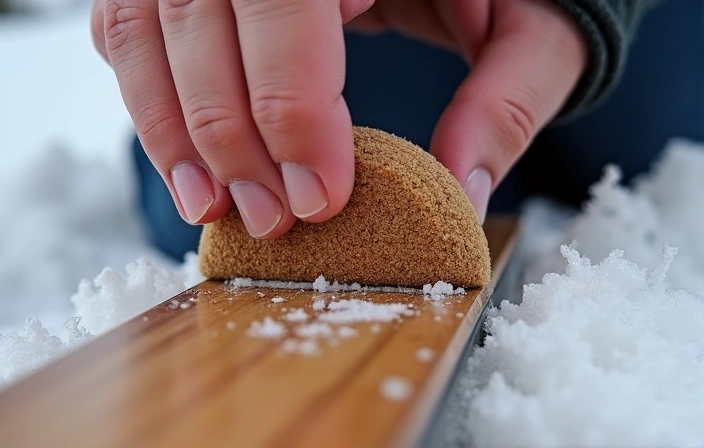
Apply Wax: Rub the wax block directly onto the ski base, applying firm pressure. Work from tip to tail, ensuring an even layer covers the entire base.
-
Cork In: Use a natural or synthetic cork to vigorously rub the wax into the base. This friction melts the wax slightly and helps it adhere and penetrate the base structure. Continue until the base looks polished.
-
Brush (Optional): For best results, lightly brush the base with a nylon brush to further smooth the surface and expose the structure.
Liquid Waxing Guide
Liquid waxes are incredibly fast and easy to apply, making them perfect for last-minute applications or mid-day touch-ups. They offer good glide for their convenience, though typically less durable than hot wax.
Tools Required:
- Liquid wax (spray or sponge applicator)
- Clean cloth or paper towel
- Nylon brush (optional)
-
Clean the Base: Ensure the ski bases are clean and dry.
-
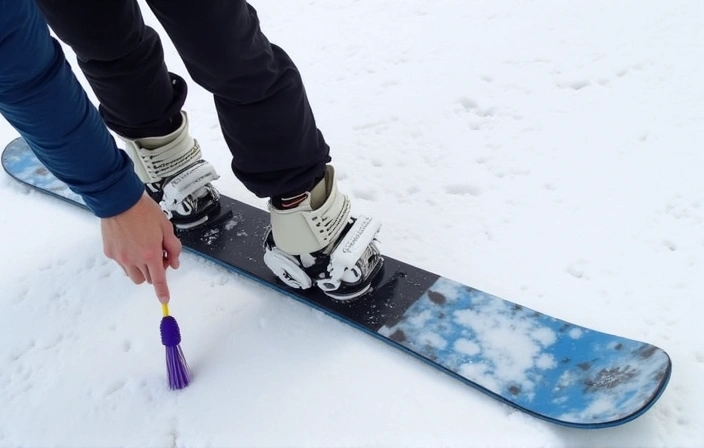
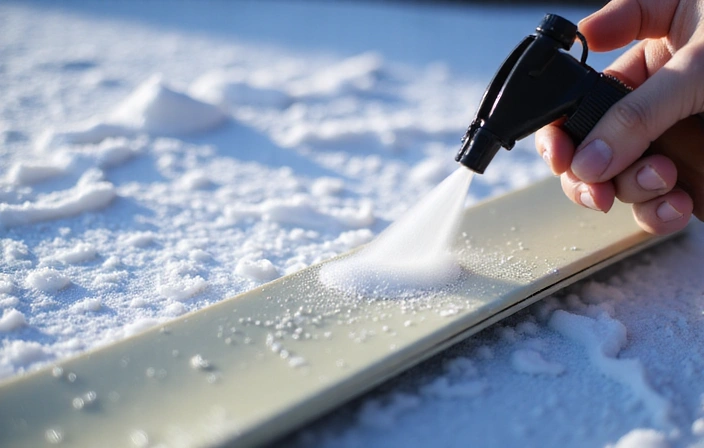
Apply Liquid Wax: Spray or apply the liquid wax evenly onto the entire ski base. Follow the manufacturer's instructions for coverage.
-
Spread and Dry: Use the applicator sponge (if provided) or a clean cloth to spread the wax evenly. Allow the wax to dry completely, which usually takes 5-15 minutes depending on the product. The base may appear hazy as it dries.
-
Buff (Optional): Once dry, you can lightly buff the base with a clean cloth or a nylon brush for enhanced shine and glide.
Interactive Weather Map & Wax Recommendations
Explore real-time weather conditions for popular US ski regions and get instant wax recommendations tailored to the current snow temperature and type. Click on any highlighted region on the map to see its current conditions and suggested wax.
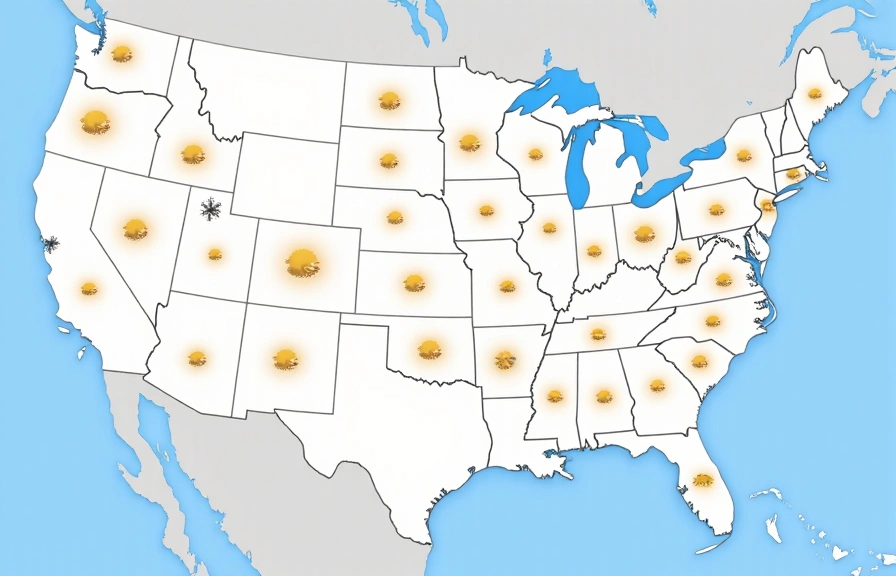
Map integration coming soon!
This section will feature an interactive map with real-time weather data for popular ski regions.
Current Conditions & Recommended Wax
Region:
Current Weather:
- Temperature:
- Humidity:
- Snow Type:
Recommended Wax:
Click on a region on the map (when active) to see detailed conditions and wax recommendations.